Starting Seeds!

It’s that time of year again! Yay!

My "Start in April" seed packets
My “Start in April” seed packets

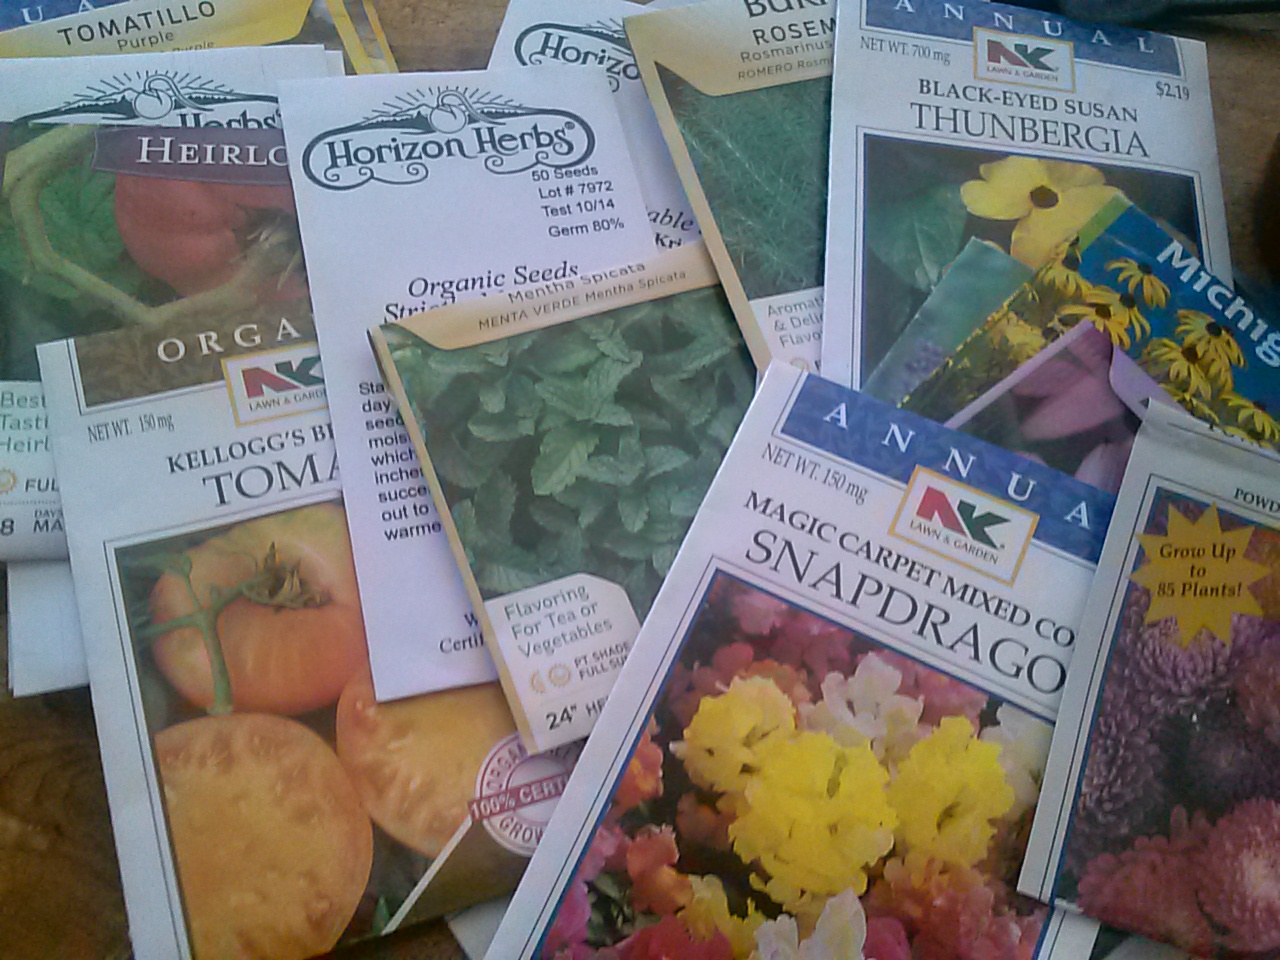
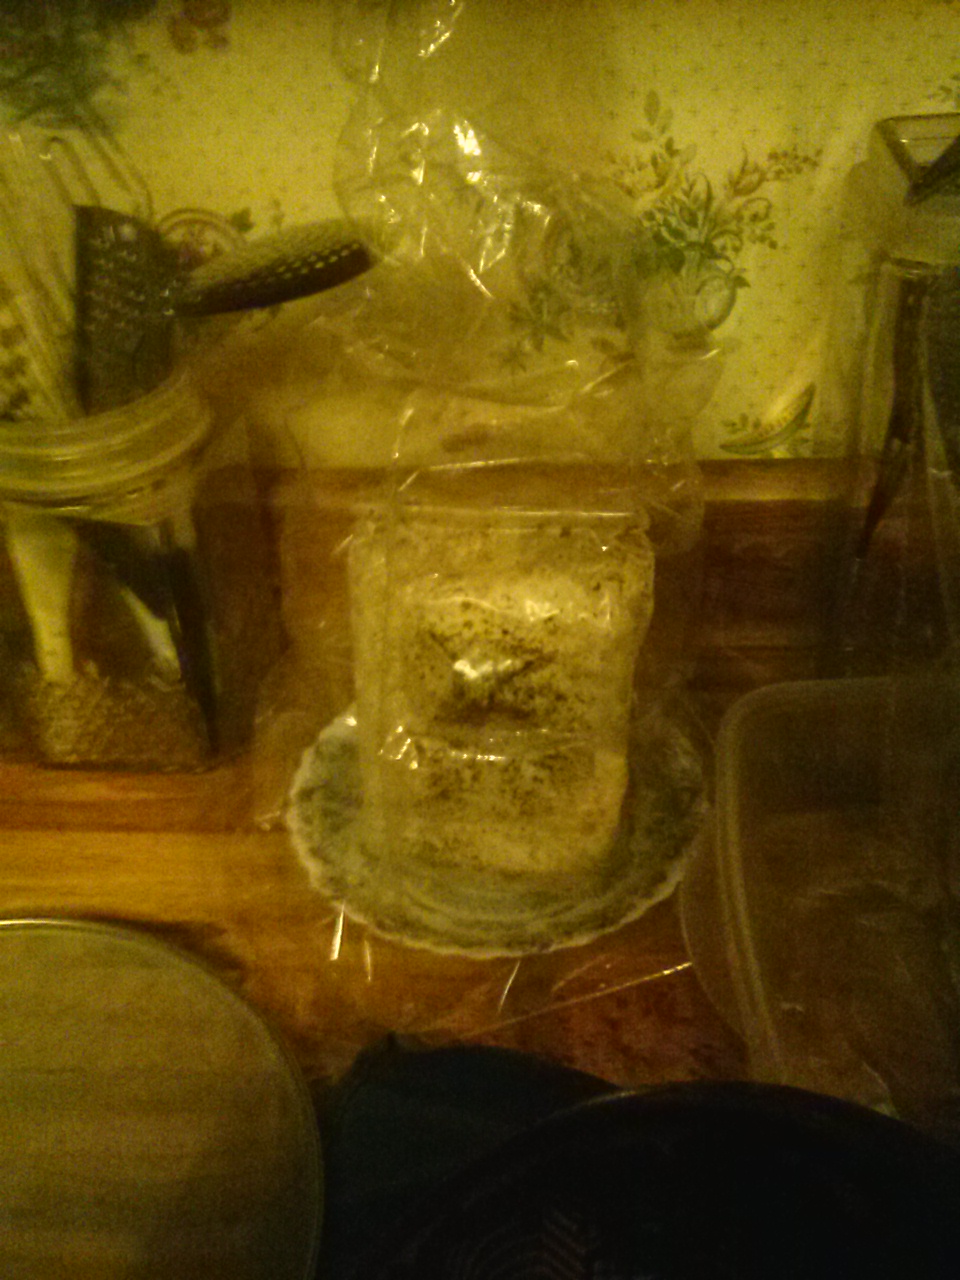
I planned out my garden a while back, and I’ve been waiting to start planting.  I have a pretty elaborate garden planned for this year, so I have a ton of seeds that I’ll need to start.  I’m hoping to get everything into the ground at the very end of May. Two weeks ago, I figured out what needs to get started when, and separated them out into 4 groups – Start in April, Start in May (beginning), Start in Mid-May, and Direct-Sow.  These are based on how quickly the seeds will germinate/grow large enough for outside. These groups were put into quart size plastic bags, since each group had quite a few seed packets in it.  The day I sorted everything, I realized there were some seeds that needed to be put in the fridge for awhile, which meant they should go into the fridge THAT day.  So that day I started some Comfrey and Datura and some other things.  The cold of the fridge isn’t completely necessary but can help the seeds germinate. Those will come out of the fridge on April 12th and get put into their window spot.

I have a south facing large window that I start seeds in, and I also have a grow light that I used last year, which was a big help and I will use again this year.  I like to start a few more seeds for each kind of plant than I actually want, in case they don’t germinate correctly – it usually works out ok, and if I end up with some extra plants that is fine.  I started 15 things today, 135 seeds total.  I like using the peat pellets, that you “grow” with water and then press the seed into.  They usually work pretty well.  With my extensive garden plan, I figured I need to plant around 700 seeds this year – I ended up ordering 10 seed trays and a box of 1000 peat pellets.  Today I used two full trays and part of a third one – the rest of that third tray will house my refrigerated seeds too, once they are ready to come out of the fridge.

My seed trays.
My seed trays.

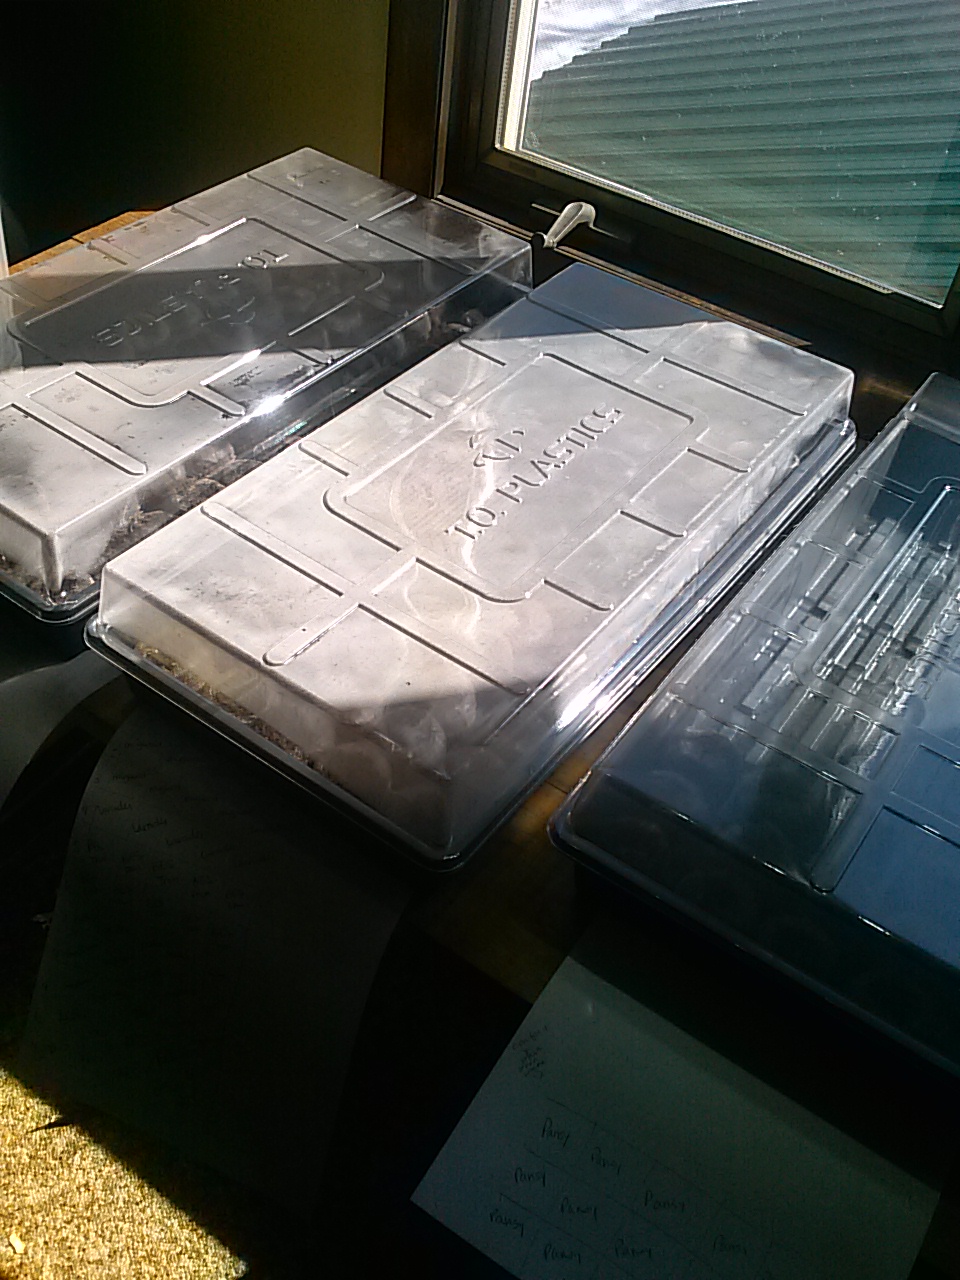
The table where the seeds are germinating used to be my cat’s window seat, and this is his first spring with us.  Hopefully he won’t jump up and knock them off – I put things up to block his access for now.

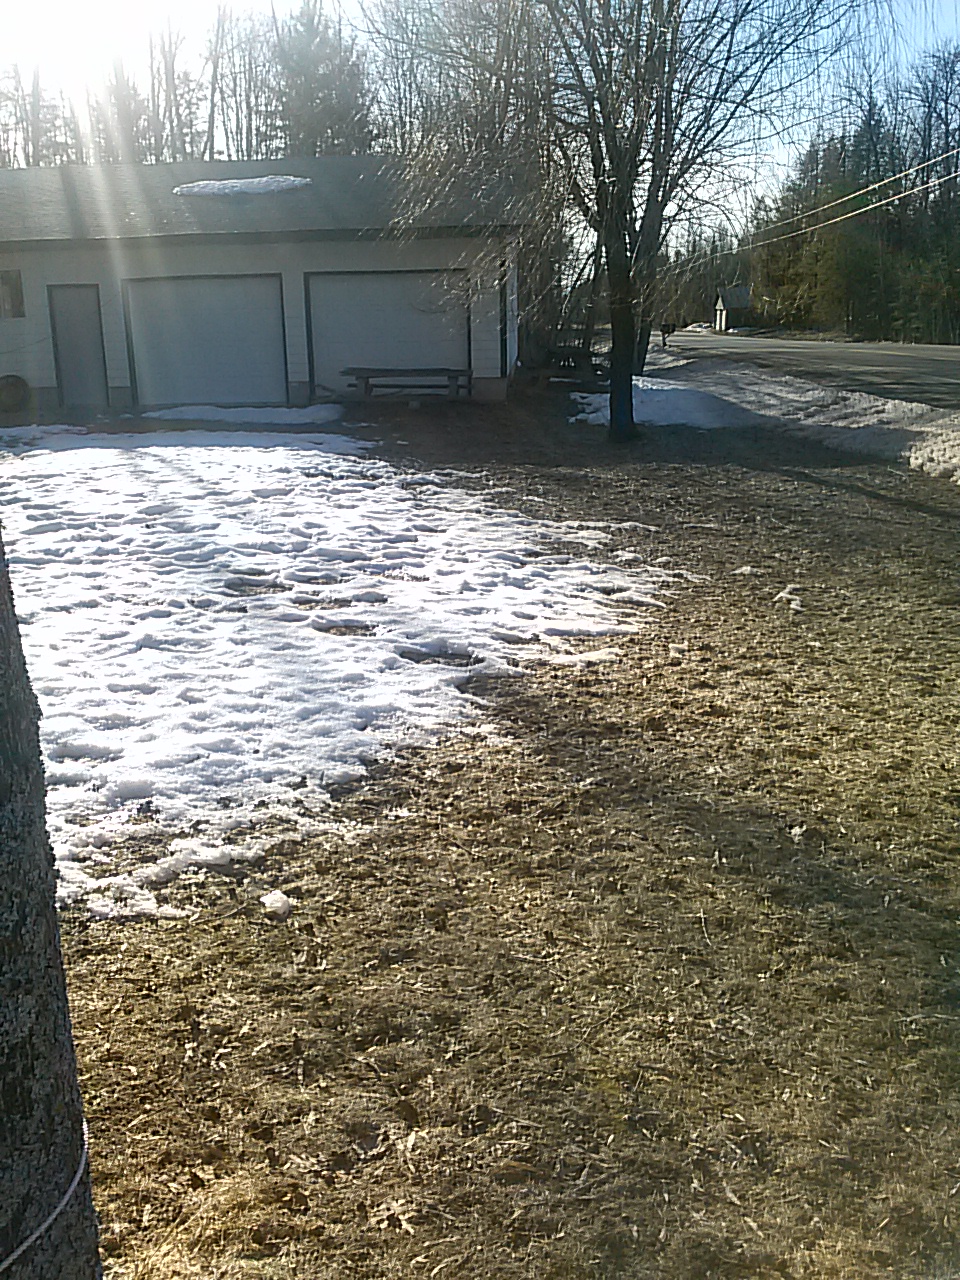
I love seed-starting time.  We still have snow outside but when it’s time to plant seeds it makes me feel like spring is really here.

Birds at the feeder! (And we got snow – meh.)

It’s been nice and spring-like, and most of our snow melted.  But then it started snowing last night – we’ve gotten a couple inches so far, and they are predicting 3-9″ by tomorrow night.  Hopefully our warmer temps will mean it won’t stick around long.   I suppose, it is only late March, and this is the U.P.   The birds at our front porch feeder have not been stopped by the snow, they are very active today.  I got some cool shots out our front window.  I wish the colors of some of these would show up in my pics – I think it’s mostly chickadees and finches (I think), but there are a couple of red birds that I found out are common redpolls.  This is their southern winter range, in the summer they go up near the arctic.

Here are some of the cool pictures I got today:

Birds at the feeder
Birds at the feeder
Birds at the feeder - 2
Birds at the feeder – 2
Birds at the feeder - 3
Birds at the feeder – 3
Birds at the feeder - 4
Birds at the feeder – 4
Birds at the feeder - 5
Birds at the feeder – 5

We get daily visits by squirrels and chipmunks too, but they were not here while I was taking pictures.  They like to scavenge on the ground for the sunflower seeds that the birds drop. We actually had some deer visit the porch one day in the winter, they were eating sunflower seeds as well.

Updates – Maple, Mushrooms, and Growing Chickens

Our maple syrup making adventure is over for the year – It’s still prime collection season but we were having trouble cooking it all up inside the house.  We have a propane-gas stove, and propane is not cheap.  Plus I just didn’t like leaving it cooking for so long at a time.  Next year I will need to figure out a way to boil it outside, preferably using some kind of wood burning set up.  The collection bags weren’t the best option either, but they did the job. I ended up using large sticks to weigh them down so they wouldn’t get out of place.  My sister Diane, commenting on my last post, told me about our parents using old milk jugs to collect the sap, which I still don’t remember.  I’m older so I don’t know how she remembers these things better than I do.   So next year, instead of using flimsy sap bags, or expensive buckets, I will use old milk jugs.   For a couple weeks of collecting and boiling, we did pretty well in my opinion.  Considering that the sap to syrup ratio is about 40:1, I think we got enough for this year:

syrup
My syrup in a quart jar

The Mushroom kits I’ve been growing have done somewhat well – It’s possible we just don’t have the moisture in our kitchen that they needed, but I was expecting a little more at one time.  The oyster mushrooms only gave us a few mushrooms for their first flush.  The pom pom blanc, which were supposed to taste like crab meat, were not as good as I hoped.  The mushroom clump doubled in size since my last post, and I wasn’t really sure when I should harvest them – they started to look like the pictures you see online of them – with some little tendrils (kind of like a lion’s mane) – so I thought that was the right time to pick them.  I cooked it up in a little butter, so as to not drown out the flavor, but I was unimpressed.  The shiitake are doing well, here is the large mushroom that is currently growing:

Our Shiitake mushroom.
Our Shiitake mushroom growing out of its log

There are little baby mushrooms on the right side of the log, and in the picture above, I think the white webby-looking stuff on the bottom may be another cap forming – it has a similar appearance to the cap of the large mushroom, but it hasn’t actually popped out of the log yet, so I can’t really be sure.  I’m very excited to eat the shiitake mushrooms, since I know I like them.  The oyster mushrooms were very good too, we just didn’t get a lot.  I have the oyster and pom pom blanc logs drying for now, and in a month or two I will try to start them again – you are supposed to be able to get a few flushes.

Our six little chicks are growing up.  They have changed a whole lot in their three weeks of life.  I’m really excited to see their coloring change – some have changed in unexpected ways. I’m sure they will change a lot more as they grow up too. I’ll have to wait to see what kind of chickens they are (and what gender they are) until they are almost or fully adults.  Here are their updates, along with pictures of when I first got them, so you can see the difference three weeks makes.

blondie
I thought this guy would end up being all white, but he is getting some black in her/his feathers, and also now has a black spot on his beak.
black chick
Here’s our little black chick, starting to get more white in his coloring.
black and white spotted face
This little guy already has a comb, which may mean he’s a rooster. Combs can be deceiving though. He looks like he’s wearing a vest from the front now, and his legs are dark and splotchy – I’m wondering if he’s some kind of Maran (copper maran or other). That is just a wild guess though.
orangie
Our little orange chick – now getting some brown in her feathers.
mask face
Little mask face – now has brown/black speckles in her feathers, so I think she/he will be a speckled chicken. But it’s really too early to tell for sure – they may change a lot before adulthood.
fighter fuzzy boots
Here’s the feather booted, strong-will-to-live chick. As you can see the feathers on her legs are getting really fluffy. I really like how they look. Her coloring is really nice too – she’s getting some black in her feathers, and a small comb is forming.

I’m really enjoying watching them grow.  I will be getting the replacements for their fallen brethren around April 20th, so I will have even more chicks to watch grow up at that point.  Some day my spare bedroom will stop being a chicken nursery.  Until then, this is pretty fun.

Beginnings of Spring

We’ve had a decent amount of warmer, above-freezing temps for the last couple weeks, and it made a lot of our snow melt.  Today, I found these crocuses just starting:

crocuses arriving
Crocus Leaves

Hopefully they’ll flower within the next week or so.

crocus leaves
More crocuses coming up

Our yard still has a lot of snow, especially where we have snowbanks.  Today it was in the 20s, but the sun was shining.   We at least can now see big chunks of our yard:

Part of our yard
A view of our front porch and side yard
Our front yard
Our front yard near the road

My chicken flock has been happy with the weather turn also.  When it was really cold there were days they were stuck inside, but if it was a nice day we’d open just their small chicken door.  With the spring weather, we’ve been opening up the big door to their run.

chickens
The chicken flock

There is still a bit of snow out in their yard.  We had been putting their old bedding out there in bags through the winter, with the plan being to heave the bags over the fence for the compost pile in the spring.  (Yes, we have some chicken yard access issues – you can only enter through the chicken coop – that will be fixed this summer).  Last week the chickens got into a couple of the bags and spread the old bedding around their yard. I was not looking forward to cleaning all that straw and hay up, but then I figured we should leave it where they put it –   It sounds a bit gross, but considering that the yard is dirt (they ate all the vegetation last year), it keeps it from turning into a big mud pile.

chickens 2
The chickens in their yard enjoying the sunshine.

In the two pics above, you can see the other bags (that we were able to heave over the fence before they got into them) behind them.  My compost pile is conveniently located right behind their yard.

I’m glad that it’s finally starting to be spring.

Hard lessons of farming (An homage to Peepers)

Peepers in early March

Sometimes on a farm you have to make hard decisions.   This weekend we made a really hard decision.  If you’ve been reading my posts, you know that Peepers had some leg problems.  I didn’t discover them until it was too late to do anything about them (IF I had been able to do anything at all).  We thought that she would be ok, because for a while she was able to get around on them fine, but as she grew larger, her body weight was too much for her legs.  (if she was a girl – I still have no idea).  The last several days she was also panting a lot, and I noticed that she was using her beak to help her move around, and she would also  flap her wings trying to move around.  One leg was splayed out almost completely behind her, with the foot on that leg also being misshapen – it was I think what they call “duckfoot.”  She couldn’t put that foot down completely to push her body so that the other leg could help her move.

When we first got the other chicks, a couple weeks ago, seeing them running around made me realize just HOW disabled she was.  I agonized over the best thing to do for her, and then we decided to just wait.  We decided to not make a decision about her for the time being, because we thought she was enjoying her life.  But for most of last week, we could tell she was just very frustrated, and possibly in pain.

We tried thinking of other solutions – maybe housing her away from the other chickens later – since putting her with them would be cruel – they would just peck her to death because of her disability.  We thought about keeping her in the house, but she would have had to have a chicken diaper; and  probably be caged, to keep her safe from our dogs, and also because she really couldn’t move around anymore.  I think that as she grew bigger it would just get worse and eventually she wouldn’t be able to move at all.  We thought about giving her to other people, but like I said she’d end up being caged, and that is not the life I wanted for her.

We decided on Saturday night that the nicest thing for her would be to humanely end her suffering.  We did it as quickly and humanely as possible.  And it was very hard to do, emotionally, because I’d bonded with her.   As a farmer, (or budding farmer), I need to get over the emotional attachment thing.  The case with Peepers, as opposed to my other chickens, was a lot different because she’d been alone for so long, and I had hand raised her.  When I think of my other chickens (both the adults and the new chicks), there isn’t that bond there because they have each other.  To me they are all just “the chickens,” they don’t have names, they aren’t pets.  I didn’t mean to get that attached to her, but I did.  I don’t know if the bond went both ways, but I was attached to her.  I don’t raise my chickens specifically for meat, but at some point I’ll have to cull some for meat and/or to thin the herd, remove mean roosters, etc.   I can’t get attached to them.  I feel really bad but I think this was the best thing we could have done for her.

She was a great little chicken.  She got to live a comfortable life for her two months that she was here (or as comfortable as I could make it).  She had a really cool personality.  I am very sad that it had to end this way, but I think it was for the best.

RIP Peepers. You will be missed.

* And if you are wondering, no we did not eat her.  Even if she had been big enough, we would not have.

Home grown edible mushrooms!

I have been wanting to buy one of the “grow your own edible mushroom” kits for a long time.  I heard about morel kits, and since last year I couldn’t find morels in the wild anywhere, I decided I wanted to get a kit to grow my own.   I found one website that had a special, where you could get an outdoor morel kit along with three other indoor edible mushroom kits, for a good price – under $80 for all 4 kits.  Usually morel kits are $25-30 on their own, depending on which website you look at.  I got my kits from the Gourmet Mushrooms website. The combo special I ordered is called “Gourmet’s delight.” It came with a morel habitat kit, a shiitake mushroom kit, an oyster mushroom kit, and a pom pom blanc kit.

The morel kit is in the fridge until spring when I can get out and work the soil to plant them, and I won’t actually get mushrooms from it for a year or two.  If it works it will be well worth the wait.   When I got the kits I set up the three indoor kits right away.

one of the mushroom logs

The kits consist of a “log” of sawdust or other material, inoculated with spawn of whatever type of mushroom.   They come with instructions, and it has been pretty easy.  We got a small flush of oyster mushrooms so far.  I got pictures of them when they were first starting, but we ate them too quickly for me to get a pic of the fully formed mushrooms.  I’m not sure if this first flush is over or if we will get some more oyster mushrooms.  You can dry out the log between flushes, and it should give you 2 or three crops of mushrooms.

oyster mushrooms
Oyster mushrooms forming (on the right side)

We are getting a flush of the pom pom blanc, which I have never tried but it is said that they taste like crab meat. That sounds delicious.  Here they are forming:

pom pom blanc
pom pom blanc flush of mushrooms forming

The shiitake log has not formed a flush yet, but the instructions for that kit are a little more complex than the other two, and it says that they can take a couple weeks to start forming. I should see them start any day now.  I’m excited for when they grow.

So far it’s been fun (and delicious) to grow indoor mushrooms.

Maple syrup time!

It is finally that time of year… The snow is melting (at least for now) – we have had temperatures in the 40s the last few days, and today actually got up to 63 degrees! The nights are still cold (last night was around 30, so just below freezing).  This is the time of year that the maple sap starts running.

I have a few sugar maples in my yard. I have fond memories from when I was a kid –  my dad would go out and drill holes into the trees, tap them, and we’d cook the sap down and make syrup.   I have been wanting to make syrup again and show my son how fun it can be.

Last year we moved here in January – I knew that somewhere my dad had tree taps from when I was younger.  He hadn’t made syrup in years, but he never threw anything useful out, so I knew they were here somewhere.  I could not find them anywhere.  I looked at stores as well and could not find any that were carrying tree taps.  The days got warmer last year and I heard people talking of tapping their trees, and I was very jealous.  The end of March / early April when we were cleaning out the sauna building to make our chicken coop, I finally found an old coffee canned, filled with tree taps (they are really called Spiles).  By that point the sap was almost done running.  I brought my son Daniel outside and we tapped one of the trees.  We did not get much sap – it was just too late in the year.

This year I planned on tapping trees at the correct time.  Last summer I had put the can of spiles somewhere I would be able to find it again.  And then we did a bunch of renovations and rearranging of stuff (moving things from the workshop in the house to the garage).  So this winter I went to find the can of spiles, and couldn’t find them anywhere.  I finally found one spile in a junk drawer.  That’s not really enough though, because you need a lot of sap to get a tiny bit of syrup.

I started asking at stores early this year, and one place told me that although they didn’t carry them, they knew where I could find tree tapping supplies.  They directed me to a store called Festival Foods in Houghton, Michigan.  I found spiles there.  I bought 2 spiles and a few sap collection bags. I opted for bags over buckets because buckets were way more expensive.

This weekend it was pretty warm so my husband and I went out to one of the maples and tapped it.  The tree is very large so we were able to put all three spiles into the tree in different spots.

Tree sap collection bags
My noob-style tree sap collection setup.

As you can see from the picture, the bags are not the easiest thing to work with.  When I bought them, I saw there was a setup you could get to make it easier, some lid-like contraptions and some metal band things.  Those were extremely expensive.  The bags were 39 cents each, but the lids were like $12 per lid.  I didn’t want to spend that much so I figured I’d wing it.  I ended up using duct tape to tape the bags in place for now, because the wind was whipping them around a lot. I went inside to get tape and when I came out one of the bags was way into the woods – 40 feet or so.  That does not seem far, but when you have knee deep (at least) snow, it gets a little tiresome to trudge through.   I went in, grabbed that bag, and taped them all up.   Next year I will use buckets.

Since we don’t have lids on the bags, I’ll have to filter the sap (to make sure I don’t get bits of tree or stuff that has fallen in, into my syrup) and then cook it down.  I don’t want to make a ton of syrup, so I may just fill these up once.  The sap wasn’t running so much the last couple days, but today it is really flowing, so my bags are starting to fill. I’ll pull them tomorrow and start cooking it down – you don’t want to leave it in the bags too long, I have read, because it can go bad if it gets too warm.

I’m excited for homemade maple syrup!

Introducing the new chicks

I received my chicks yesterday.  They were shipped on Monday, and the two day journey in freezing temps was not good – the place I ordered from has a 15 chick minimum right now, until the end of March, for a very good reason – it’s meant to help them keep warm on the journey (more chicks = more body heat). They had a heat pack, and there were 16 chicks in my box.  I got a call from the post office on Wednesday, and they said the chicks had arrived, but only 2 were alive.  I ran to the post office, and there were two visibly alive – everyone else looked to be dead.  The postal trucks are not heated at all.

I ran them back to my office, and immediately put a heat lamp on them.  Over the next couple of hours, 6 more of them woke up –  so total of 8 alive, and 8 had died.  I talked to the company I ordered from, and they said to call them back on Friday with the final total, just in case any more didn’t make it.

I brought the 8 survivors home, and they all seemed to be doing well, until late last night.  I noticed one little guy had one eye shut, and his peeping seemed to be weak.  I went to bed, and had a dream that he had died (in my dream he was a little penguin, which I think is because I thought he looked like a penguin – he was a little black and white chick) – I woke up today and sure enough, he had died in the night.  One other little orange guy was acting weak this morning, so I didn’t think he would make it either.  About an hour later, just before leaving for work, I went to check on them and he had died as well.

I now have 6 chicks. They seem to be doing really well, everyone is eating and drinking well, and running around in their giant box.  They are getting along well with Peepers, although that was a little touch and go at first.  Luckily, poor Peepers can’t really move very fast due to his/her crippled legs, so they aren’t in much danger.  They like to run up to her, peck at her feet, and then run away.  (I’ve found myself calling Peepers a “she” lately instead of a “he” although I still have absolutely no idea what she/he is).  One chick kind of nuzzled under her for a bit today.

So anyway, here are the surviving chicks (as of tonight):

fighter
We’ll call this guy “Fighter” – the most strong willed of them all – he was the most awake when the box arrived, walking on top of everyone and pecking them all as if to say “wake up!” He also has fluffy feathered legs.
Little Yellow guy
Little Yellow guy – he is just SO cute.
spotted face
Little spotted “penguin” looking chick – this one has funny diagonal stripes on his face.
orange
Orange guy – this was the other Awake one when the box came.
This one has an orange / brown mask on his eyes, and has a cool brown skunk-like stripe down his back.
black
Little black chick – this one has a black and white skunk-like stripe down his back.

I’ll have to see about getting the replacements for the losses sent in a month or so, when it’s warmer so that I don’t lose them as well.  For now, these guys are doing well and are a lot of fun to watch.

The chicks in their new home with Peepers.
The chicks in their new home with Peepers. (Taken last night when there were still 8).

The chick corral

My new chicks are due to arrive this coming week.  I’ve been trying to figure out how I will house them together with Peepers.  He is probably about 4x the size that the new chicks will be, and he’s quickly outgrown the small box I originally had him in.  I originally thought about using a giant plastic bin – we have one, but it is somewhere out in the garage I believe, and possibly filled with stuff at the moment. Our garage is kind of a pain to get to in the winter – My dad built it to house his tractor, and didn’t actually put it near the driveway, so we need to trudge through knee deep snow to get to it.  I also was thinking that, since it’s only early March now, I will probably need a bit more space because the chickens will be pretty big by the time it’s warm enough to put them outside with the adults.

I saw some designs online that people had made for indoor brooders.  One person got some large furniture/refrigerator boxes and put them together to make a brooder.  I tried asking our local furniture store for some boxes, but they were out of cardboard (someone had taken all their cardboard away the very day I asked).  So then I asked at our local grocery store, and they had some boxes.  I went and got 8 or 9 large boxes that had been for paper towels and things.

I brought them home and started building them into a large box shape:

Large box shape for brooder

I then reinforced the sides, and added cardboard on the bottom to make the floor.  The chick corral / brooder is all put together with duck tape.

CAM00877

It comes out to roughly about 4′ x 2.5′  – a decent size, and should keep the chickens happy for awhile as they grow.  I have extra cardboard to make the sides taller later on as needed.  I will probably need this because otherwise I’ll eventually find them perching on the top and hanging out in the room where the brooder is.  When I had my last batch of chicks (my current adult population), by about 2-3 months they were already doing that.  I was worried about them living outside but soon after they started escaping their brooder I knew it was time for them to go to their coop – plus it was summertime.

The brooder is in a carpeted room (my art room which is actually an old bedroom).  I had a large thick plastic tarp that I put underneath the whole brooder just to keep the carpet from getting dirty.  I had to think for awhile on how to do the flooring/bedding for the chickens.  Last time I used newspaper as their bedding with no problem, but I’ve since read that newspaper can get slippery and cause leg problems in developing chicks.   I also had to think about Peepers.  Peepers has a wonky leg – I think it was caused by the temperature fluctuations from the incubator going bad mid-incubation.  That can cause a condition called splay leg in chicks.  I didn’t notice his problem right away, because it was just one leg.  Over the first couple weeks he started pushing one leg out and now it sometimes is almost behind him when he walks.  This can be a fixable condition if caught and fixed within the first few days after hatching, but he was already a few weeks old when I found out what the condition was called and how to fix it.  I tried using a bandage method to “train” the leg to do what it’s supposed to, but it just seemed to hurt him and I didn’t want him falling in his water or anything, so I stopped trying to fix it.  He gets around ok, but he needs a surface with better grip.  I’ve found that really good quality paper towel seems to be ok for him, so that is what I lined the brooder with. Carpet is actually better – I bring him out on the carpet to hang out sometimes, and he gets around fine on that, but chickens poop wherever, whenever, so for the brooder I need something I can take out and replace frequently.

new brooder
Peepers in the new brooder.

I may use some old towels for him if he starts having problems with the paper towels.  That way I can take them out and wash and replace them each day.  The new chicks should have no problem with the paper towels.  I tried some pine shavings with Peepers last week, because I read that those can make a good bedding, but it was very messy and it didn’t seem to give him enough of a grip to get around.  I think as he reaches adulthood he should be fine – he will always be crippled so he wouldn’t be able to get away from a predator, but as long as he’s kept safe he’ll be ok.   I put him in the brooder and he has a new heat lamp I set up in there, and he started making these little cute noises, almost like song bird noises.  I could tell he was very happy in the new box.

Happy Peepers.
Happy Peepers.